Cutting and forming plate doesn’t need to be complicated. Clear inputs, the right process, and tight checks deliver fast, clean parts. Here’s a simple, practical guide to get it right the first time.
Start with clear drawings
Strong results start with complete, readable drawings and files.
- Send clean DXF/DWG/STEP files plus PDFs.
- Call out material grade and thickness on every sheet.
- Add overall dimensions, hole sizes, and tolerances. Mark which dimensions are critical.
- Show grain direction and bend lines/arrows.
- Specify inside bend radii and bend order.
- Note edge quality (laser/plasma/waterjet) and any deburr or grind requirements.
- Include quantity, target delivery date, and finish needs (as-cut, pickled, blasted, primed).
- For formed parts, provide “after forming” reference dimensions.
- Keep holes, slots, and notches away from bend lines when possible.
- Allow tabs or lead-ins away from critical edges to protect finish surfaces.
We use CAD/CAM to develop blanks, bend allowances, and nests to reduce waste and hold tolerance.
No drawings? We’ll help.
You don’t need a full print to get started with Hooley.
- We can work from a template, a sample part, field measurements, photos, or a napkin sketch.
- Got only an idea? Call us. We’ll help shape it into a practical design.
- Our design team will create or clean up drawings, pick materials, and plan bends and rolls with you.
- We’ll explain options, costs, and lead times so you can choose what fits.
Send what you have and we’ll get moving.
Choose the right material
Pick the plate that matches the job and the forming need.
- Carbon steel (A36, A572, HSLA): cost-effective, weldable, good general purpose. HSLA holds strength with lower weight.
- Stainless (304/316): corrosion resistance and clean finish; expect more springback in forming.
- Aluminum (5052, 6061): light and formable; 5052 bends easier, 6061 may need larger radii.
- Grain direction affects bending and rolling. If direction matters, mark it.
- Ask for MTRs and heat traceability if your project requires it.
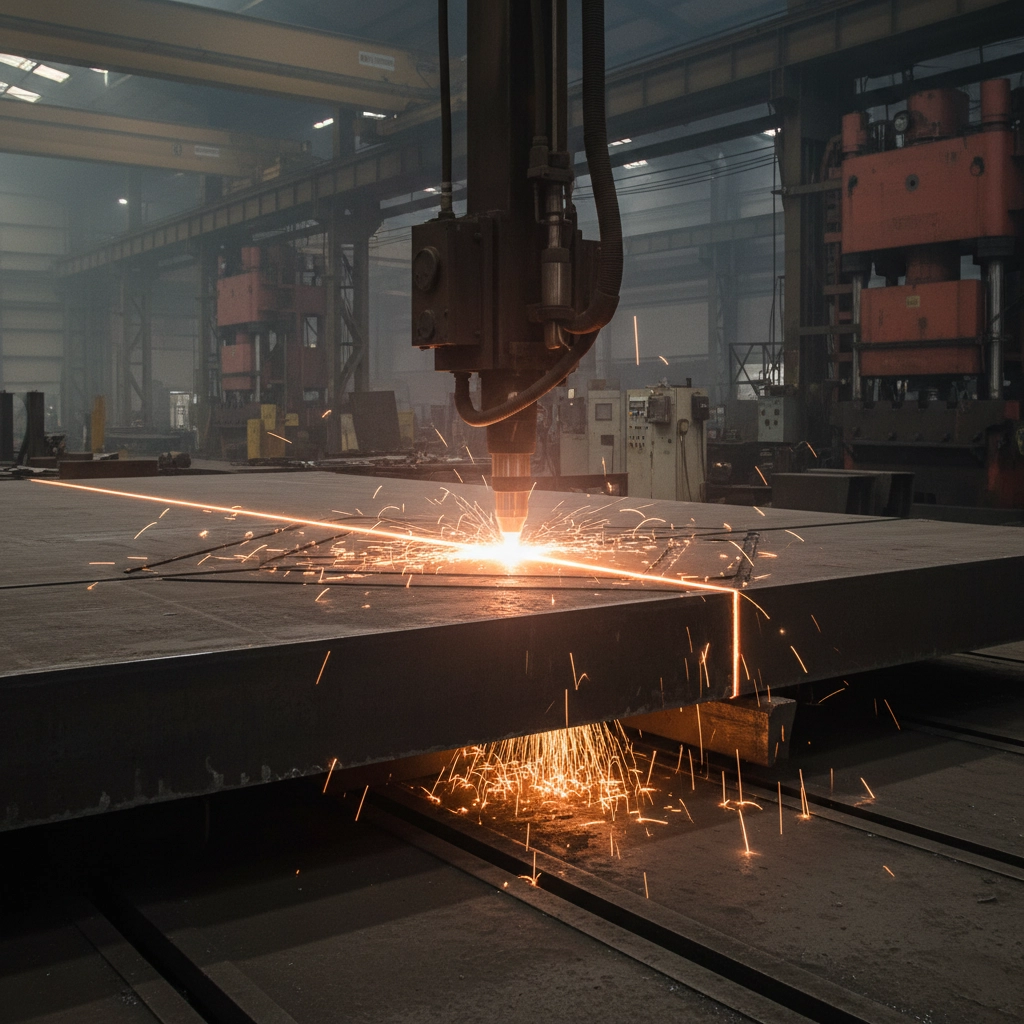
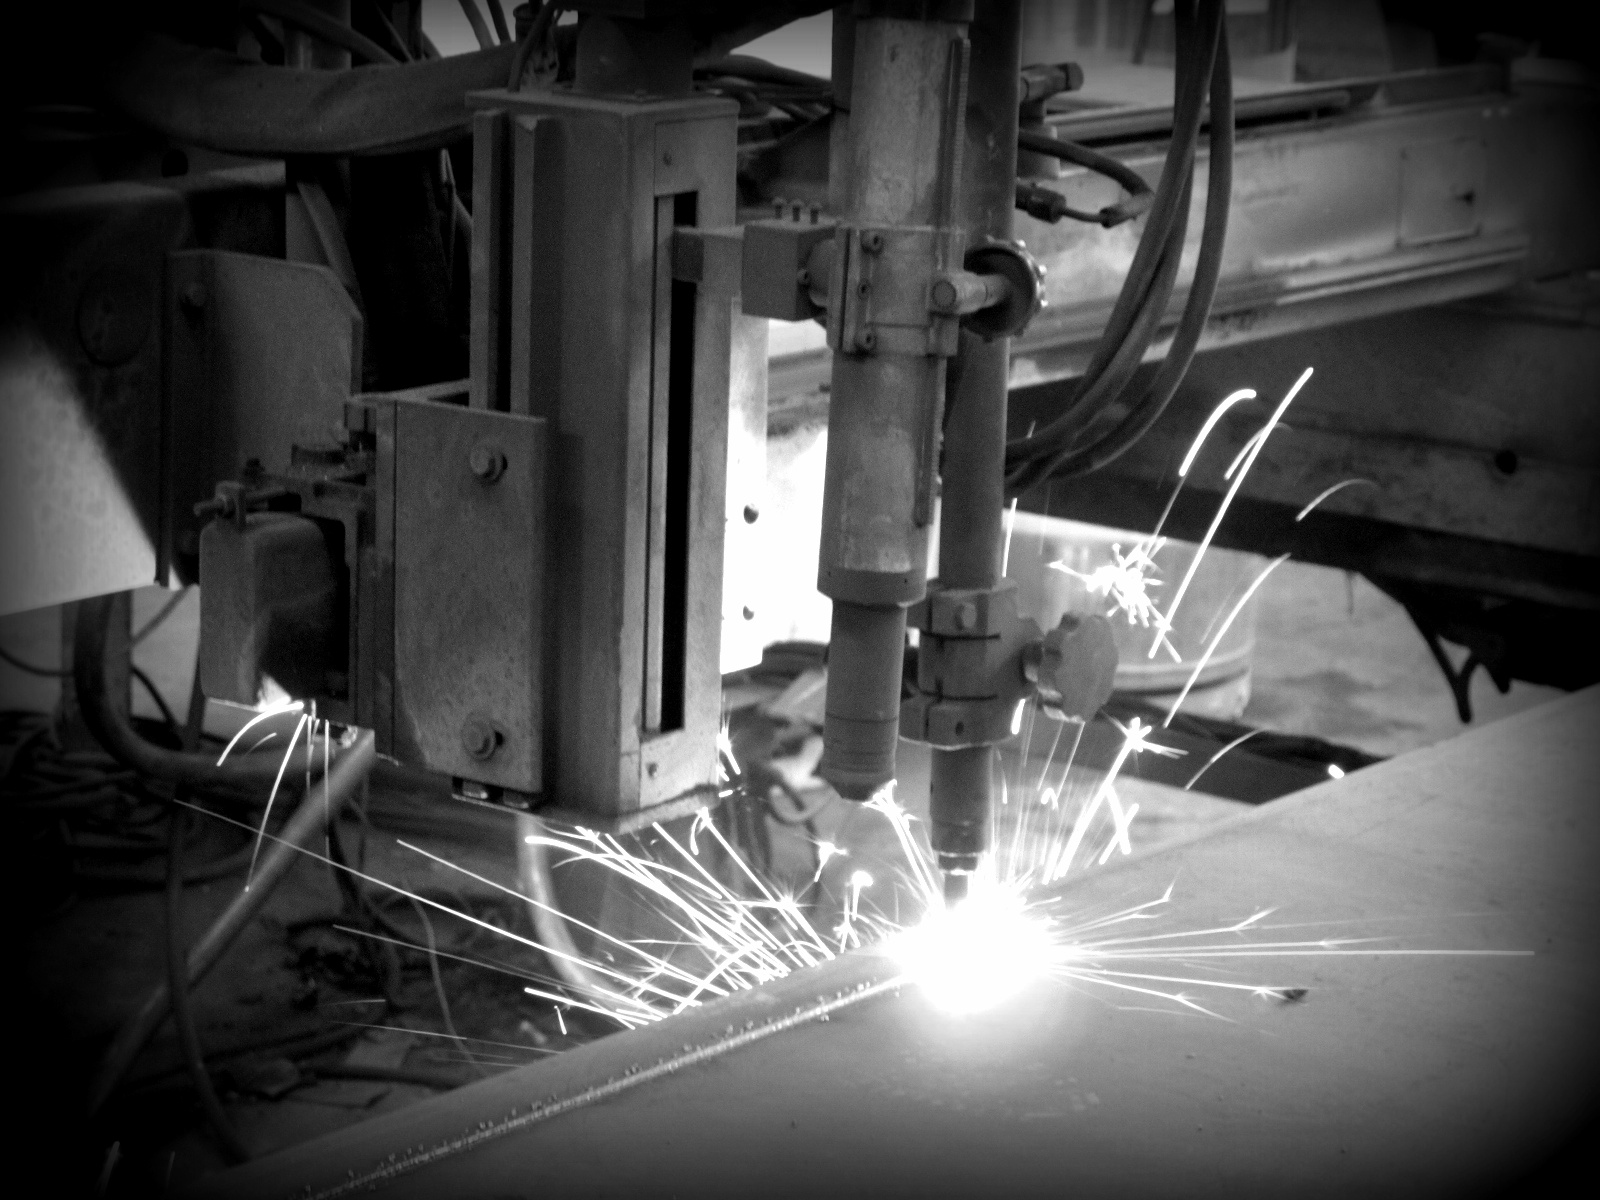
Pick the right cutting method
Choose based on thickness, tolerance, edge quality, and budget.
- Laser: tight tolerances, smooth edge, minimal HAZ. Great for thin to medium plate and detailed geometry.
- Plasma: fast and cost-effective for thicker plate. Expect more taper and HAZ; plan for cleanup on critical edges.
- Waterjet: no heat, excellent for tight features and heat-sensitive materials. Slower and often higher cost.
Tell us which edges are cosmetic or critical. We’ll pick lead-ins, pierce points, and cut order to protect them.
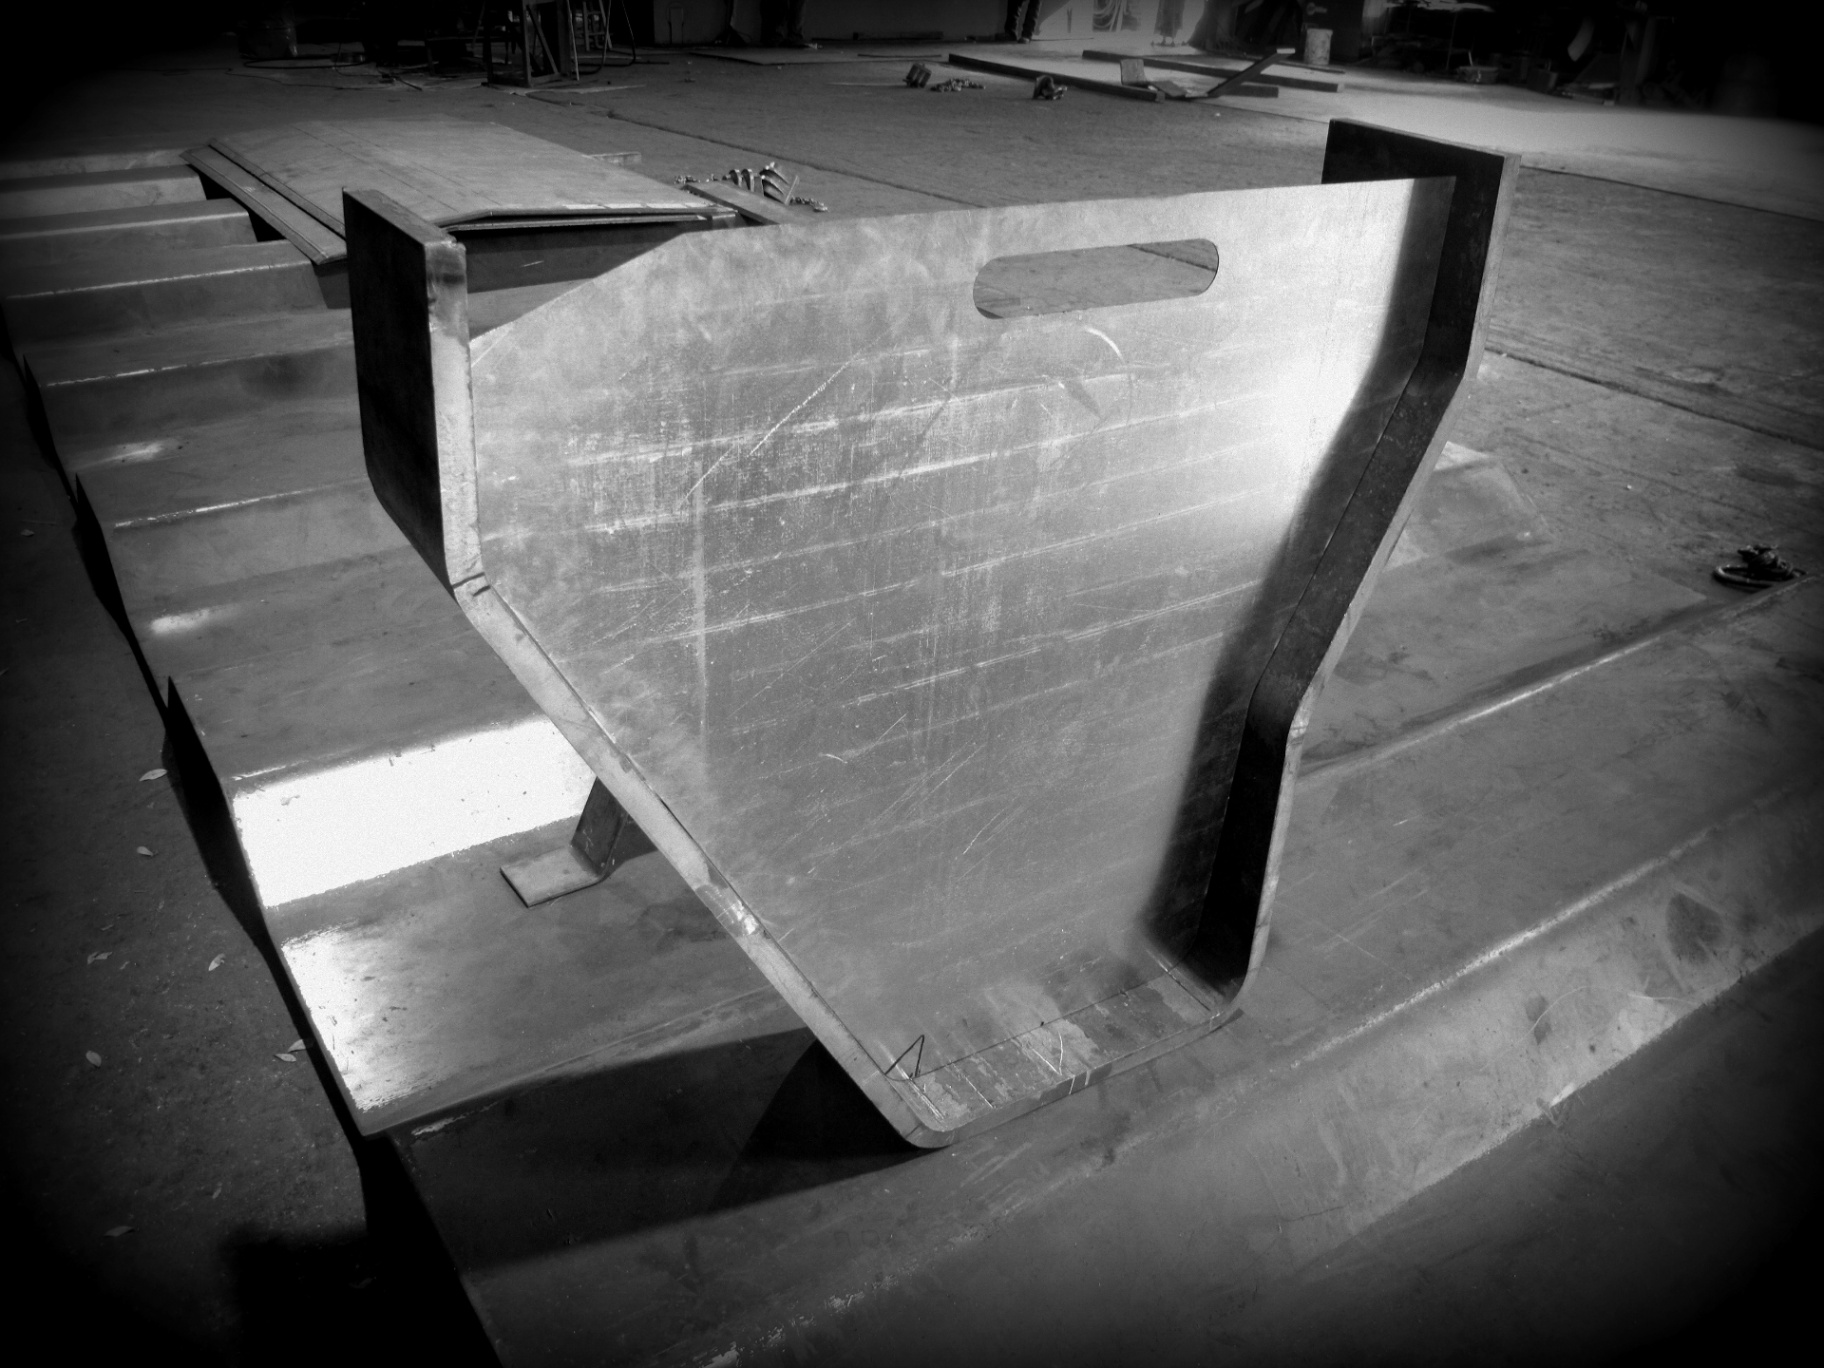
Forming basics
Good forming starts with correct radii, tonnage, and sequence.
- Press brake jobs need inside bend radius, angle, and orientation. We’ll size the die opening to suit the material and thickness.
- Allow for springback. Specify the final angle; we will compensate in setup.
- Check minimum flange lengths, bend reliefs, and corner reliefs to avoid tearing and distortion.
- Call out bend allowances/deductions or the K‑factor used in your flat pattern.
- Rolling: provide finished ID/OD, seam gap, straight sections, and out-of-round limits. Minimum roll diameter depends on material, thickness, and grade.
- Very heavy plate may require larger radii or staged/bump forming. We will advise if adjustments are needed.
Quality checks
Build quality into the process so parts fit on site.
- First-article inspection available on request.
- Verify critical dimensions at each step (after cut, after form).
- Define flatness requirements and where they apply (as-cut vs. after forming).
- Specify burr, HAZ, and scale removal where needed.
- Maintain tool condition and machine calibration to hold repeatability.
- Traceability: we can mark part numbers and heat numbers and include MTRs.
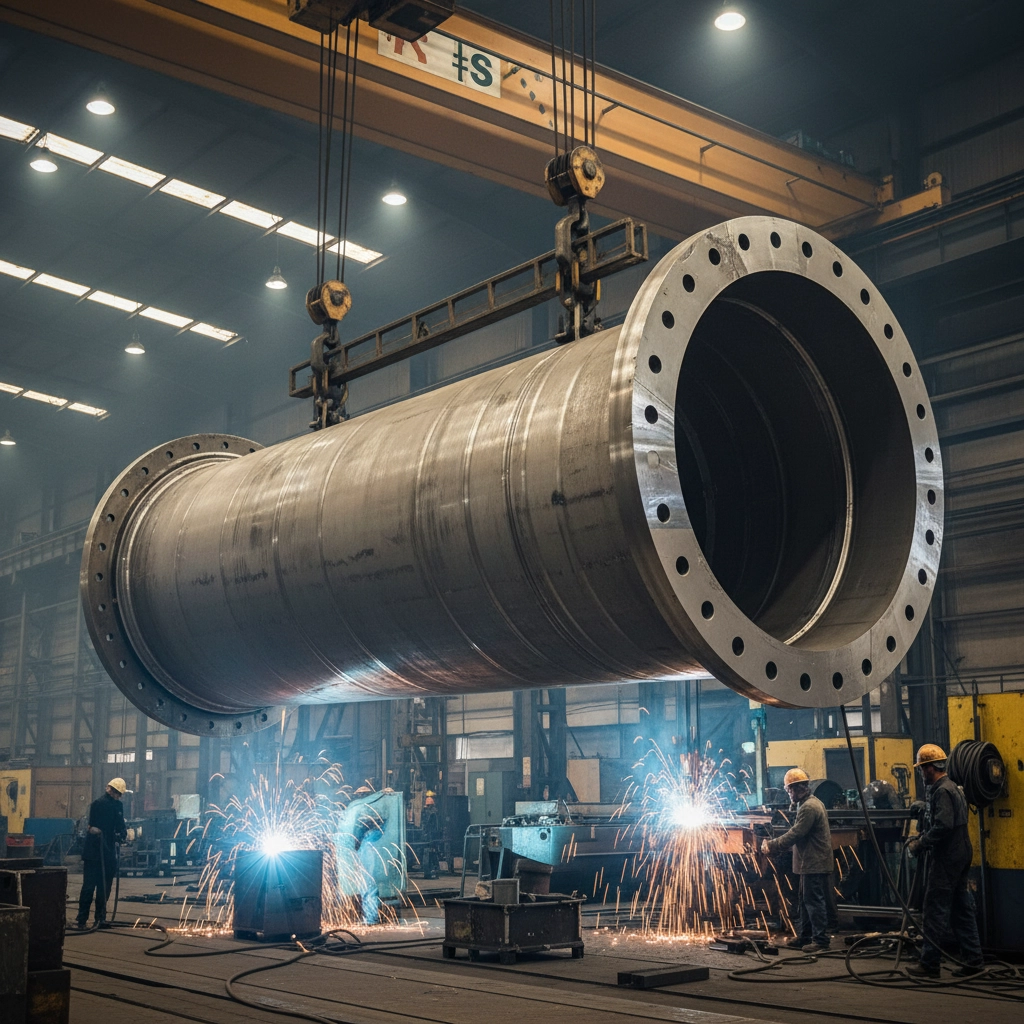
Plan the workflow
Good sequencing saves time and avoids scrap.
- Cut, then form, then heat treat or finish as required. If parts are tight-tolerance, rough cut, stress relieve (if specified), then finish cut.
- Minimize handling. Plan lift points for heavy plate to prevent distortion and surface damage.
- Protect critical faces during handling and shipping. Use skids, spacers, and wraps as needed.
For complex geometries
Tough parts often need special setups and tooling.
- Custom dies, segmented tooling, and bump forming can achieve tight shapes in heavy plate.
- Trial blanks or short-run prototypes help dial in bend allowances and springback.
- If heat treatment is required, plan its order relative to forming to protect properties and dimensions.
- Allow lead time for tooling design and procurement.
The bottom line
Clear drawings, the right material, the right cutting method, and controlled forming deliver fast, accurate parts. Tell us what matters most—tolerance, finish, speed—and we’ll build the process around it. Estimates are free and timely.